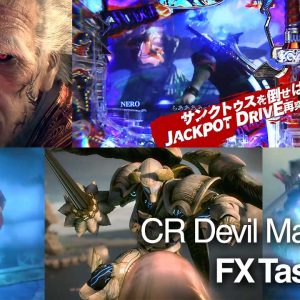
CR Devil May Cry 4 (CRデビルメイクライ4)
My last Japanese 3DCG project during my time at Flystudio Malaysia before Digital Frontier JP parted ways, it was a fun ride for me as I got to explore many new opportunities such as creating a reusable FX assets for other artists and my first foray in writing lots of scripts for pipeline automation!
Sure enough this project was the last fun project before I switch industry to work as a Python developer professionally for the financial risk technology sector as of this article posting.
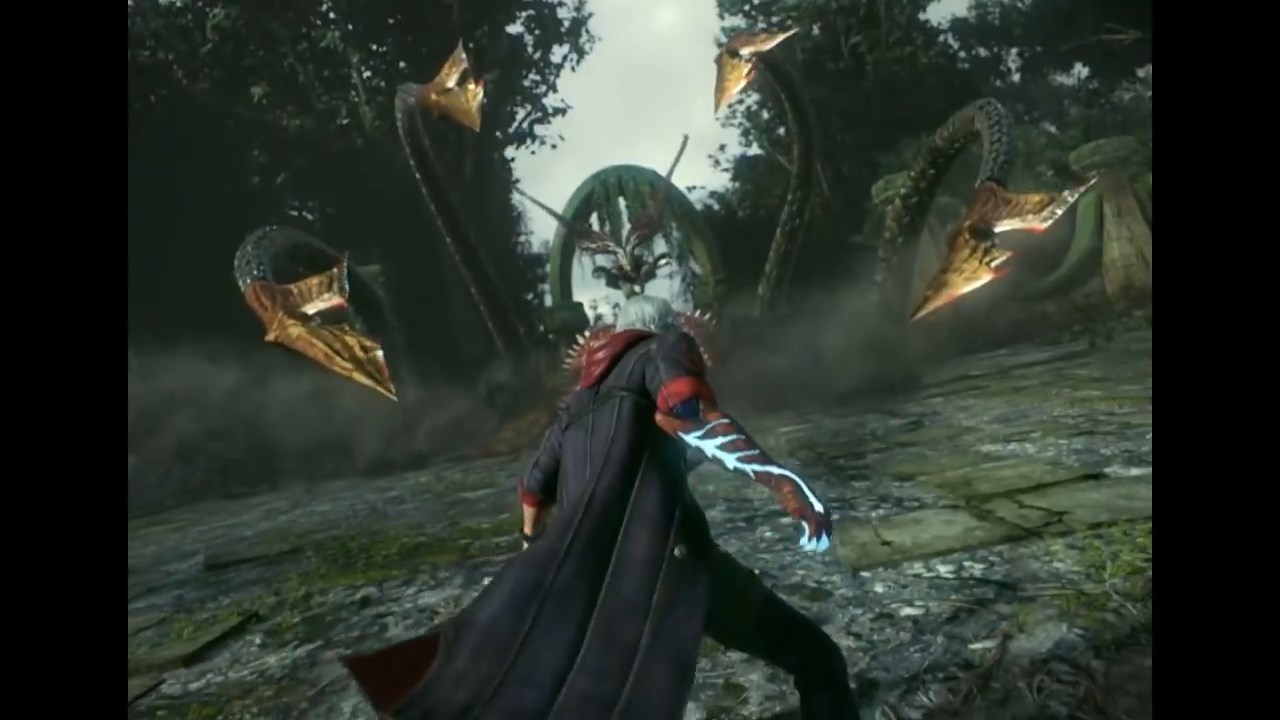
As mentioned before for GANTZ: O and Infini-T Force, my duties include both the FX assets creation/usage and also compositing the final FX looks in After Effects.
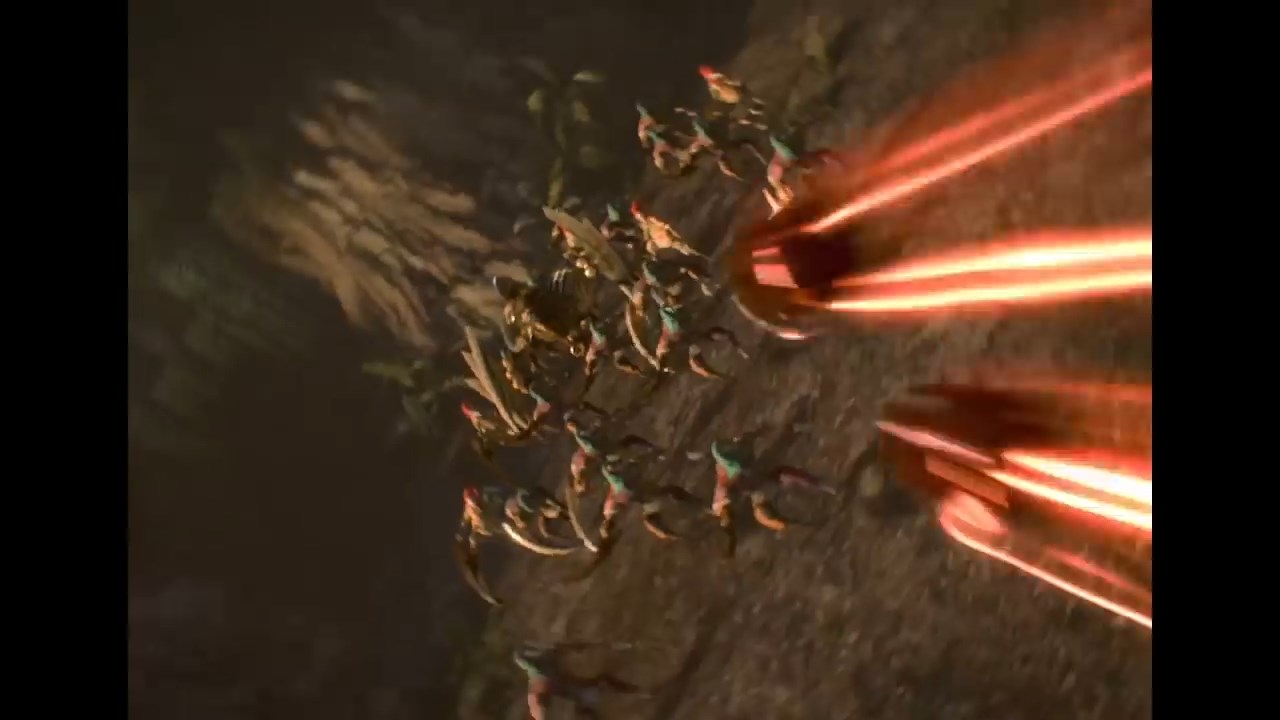
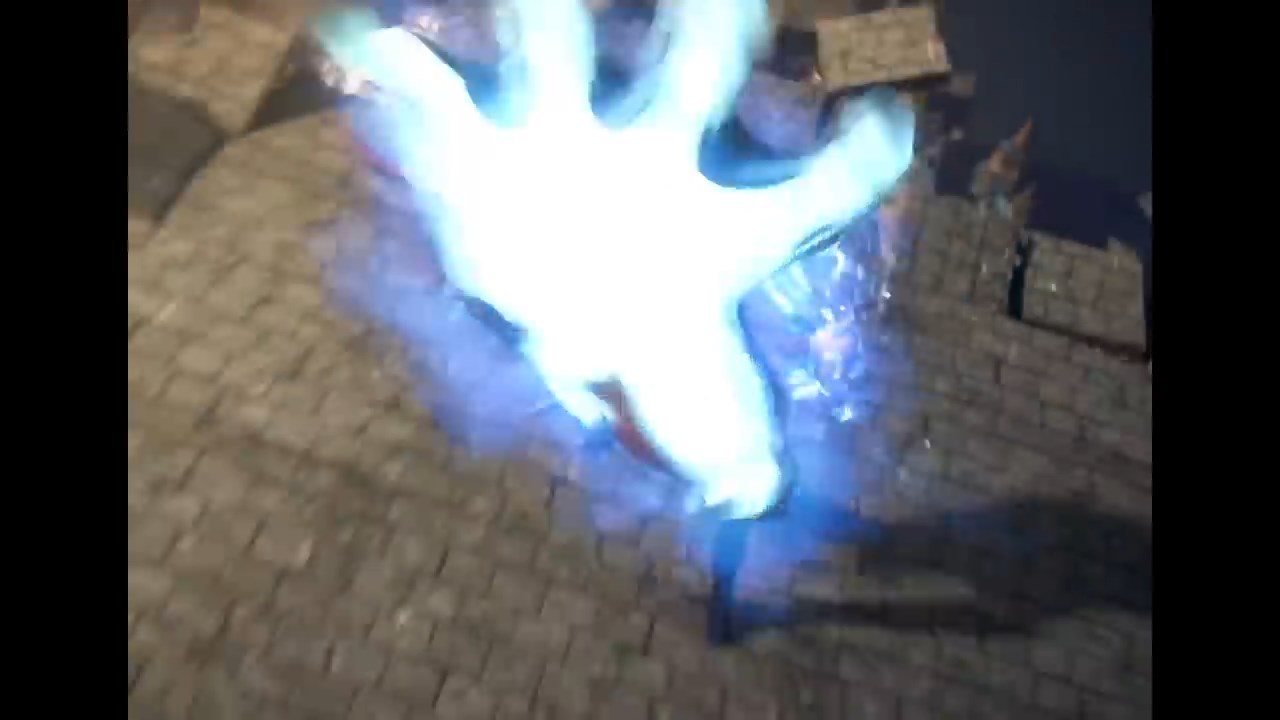
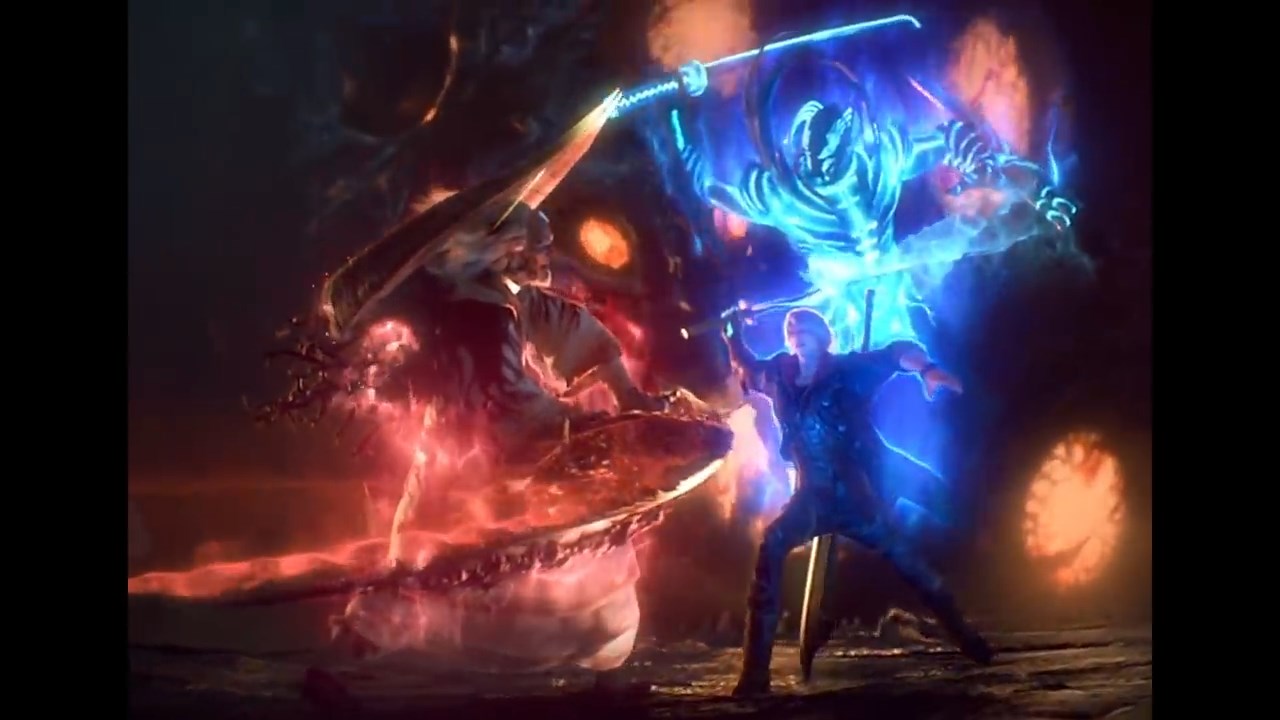
Sadly I don’t have a way to share a demoreel for this project as majority of the cuts are really short (between 1 to 10 secs). There is a video available on YouTube which contains a number of shots I’ve worked on.
Not to forget the FX tasks sheet of the available shots that I’ve work on in the trailer as PDF which you can download here.
FX Tasks
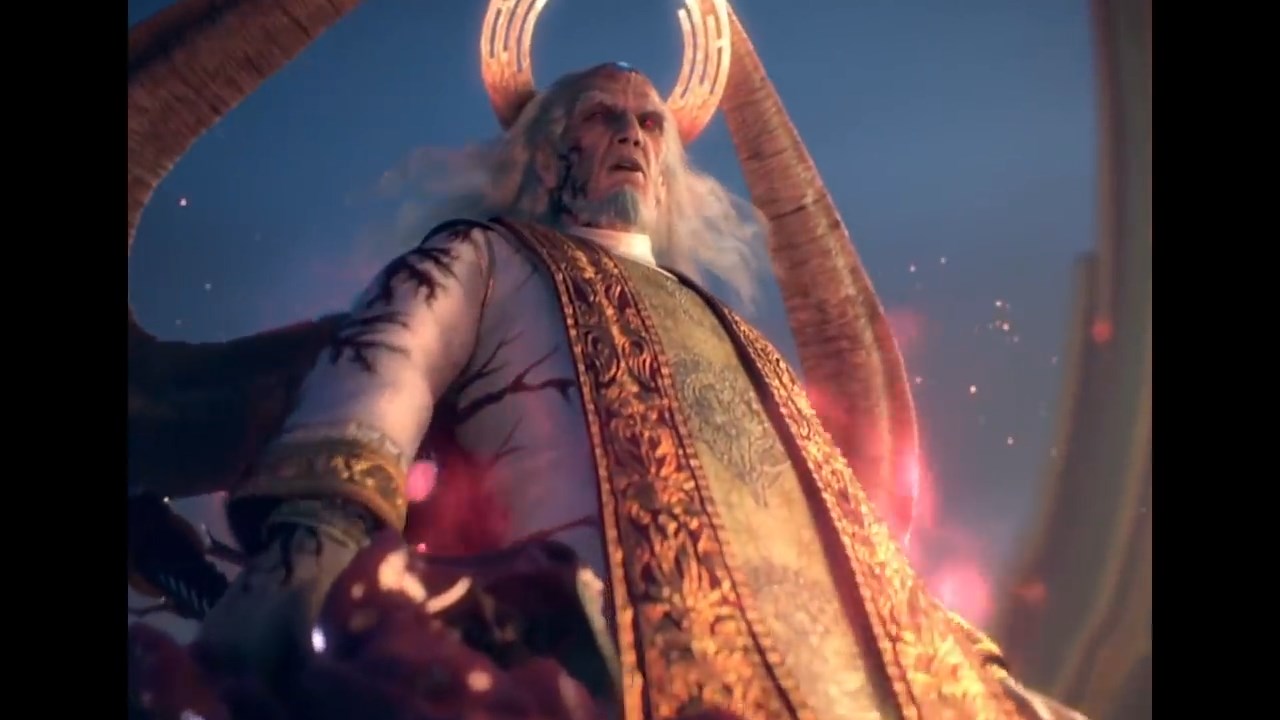
Sanctus’ Devil Aura FX assets:
- Created from scratch from studying the original DMC4 gameplay footage.
- Uses Maya nParticle and render using in-house custom renderer for majority of the assigned shots.
- Uses Vray Lights for FX lighting that requires interaction with CHBG (Characters and Backgrounds) assets.
- Setup lighting and particle rig that are artist driven for others to use.
- Create look presets for compositing in After Effects.
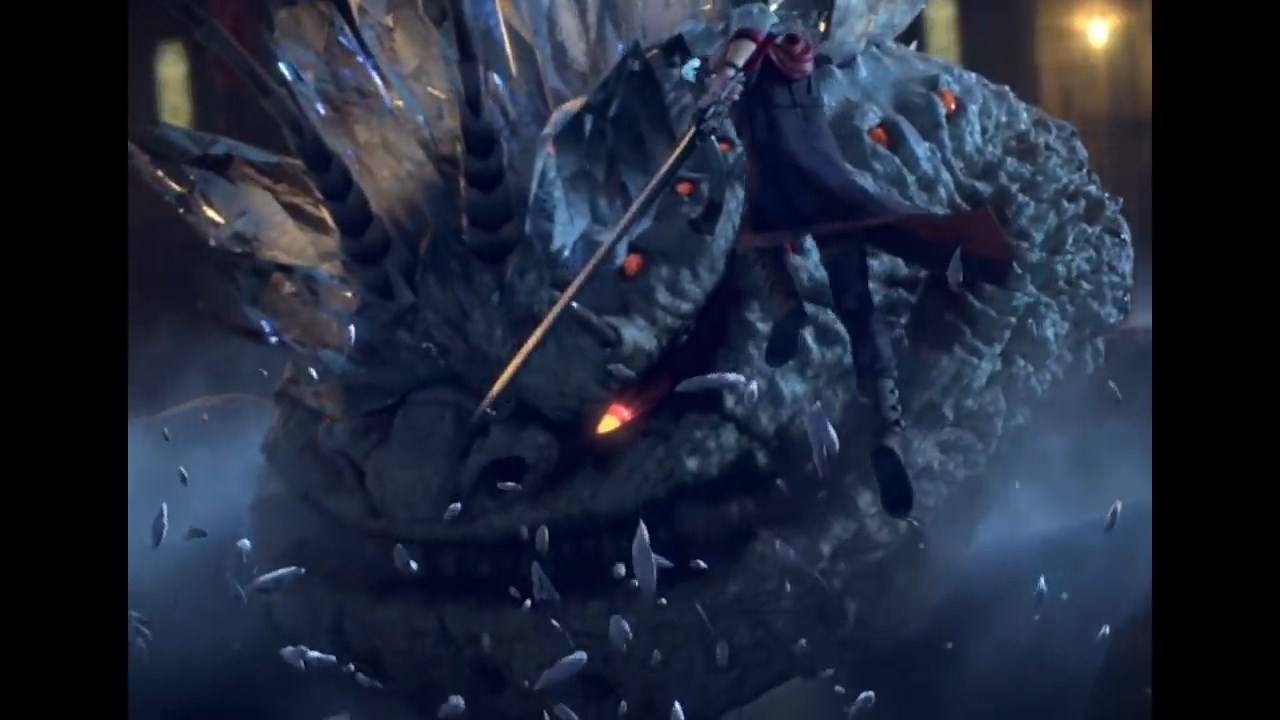
Uses ready-made FX assets for the following shots:
- Nero’s Devil Aura/Sparks
- Vergil’s Devil Aura
- Gun Muzzle Flash
- Bullet Trail
- Smoke Trail
- Wing Trail
- Feathers
- Ice Debris
- Sparks
- Sword Aura and Trail
Written MEL and Python Scripts to automate the following tasks:
- One click button that configure the render settings (draft and beauty) based on project specifications.
- Referencing latest camera version from the server.
- Select objects based on a list for FBX Geo Cache export from Maya 2014 to Maya 2013 (for use with in-house custom renderer).
- Create render layers that separate FX, CH and BG based on the assets’ naming convention.
- Bake CH animation as Alembic cache for quicker FX lighting iteration using Maya 2014 GPU Cache.
- Auto-align particle emitters to relevant CH joints.
- Various Vray render scripts for compositing.
Written After Effects JSX scripts for:
- Exporting QuickTime movie using the current project filename as prefix for WIP delivery.
- Clean up project for delivery to Digital Frontier JP:
- Remove unused effects/masks.
- Remove repeat/unused footage.
- Apply specific effects based on comp name.
Random Food for Thought
- The in-house custom renderer are pretty amazing as it renders really fast! The render quality can’t rival a properly setup Vray materials and lighting but when one can quickly output a very heavy particles scene at 3-5fps (with the average of 10-20fps for most shots) at HD resolution, it was a great productivity booster.
- I can’t remember the number of shots that I’ve worked on but I’m guessing around 25-30 shots within 8 months.
- Lots of masking during compositing! A necessary evil when the deadline for most shots are fast approaching to remove unwanted FX based on director’s feedback.
- Watching Devil May Cry 5 E3 2018 announcement trailer which runs at real-time 60fps using the RE Engine blew me away since the render time for the CHBG preview render average 3-10 mins per frame on an Intel i7 3930K which has six cores with hyper-threading clocked at 3.2GHz!
But Where’s My Monthly Dosage of Nuke Tips?
I’m afraid I got distracted with work and drawing since early October!
If you have any questions about my work on this project, let me know in the comment section below.
